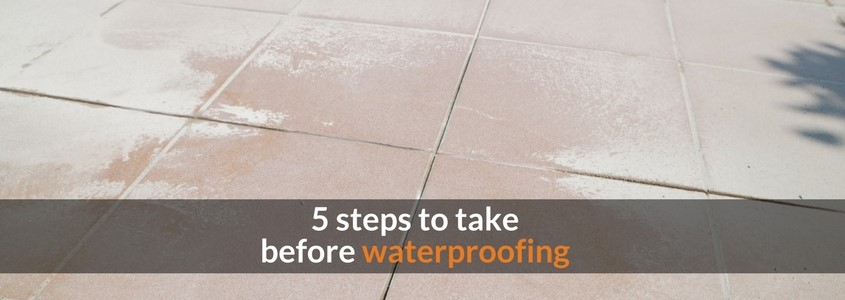
Preliminary steps to take before choosing waterproofing materials and system.
Warm weather and rising temperatures are the most suitable conditions to perform waterproofing works. The application of waterproofing systems in winter, in fact, due to the low temperatures and high moisture concentrations, is not always efficient. You should take into consideration, for instance, the risk of condensation or the creation of bubbles in the membrane after laying.
Climatic conditions are not the only requirement to consider. For a proper waterproofing, you should carefully perform some preliminary tasks. Otherwise even the best waterproofing system could fail.
For an efficient work, before the waterproofing process of a terrace (this case) or a roof, follow this steps:
- clean the substrate;
- examine the surfaces to be waterproofed;
- prepare the surfaces;
- check and renovate the joints and the wells;
- proceed to the waterproofing of joints and drains.
These operations require attention and ability but we are sure that it will be much clearer and easier to understand how to proceed before performing a waterproofing work thanks to the details we are providing.
Step 1. Clean the substrate
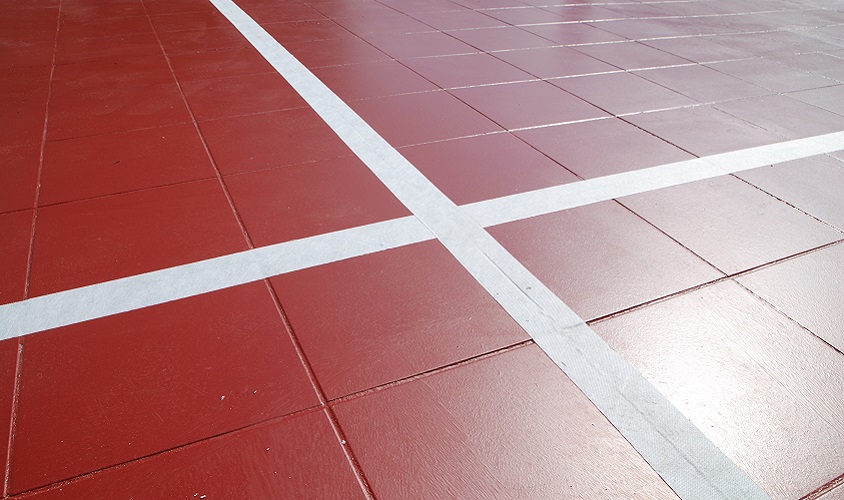
The first step before starting to waterproof is cleaning the surface, in order to totally remove the inconsistent or flaking parts, having insufficient mechanical properties.
A proper cleaning is also useful to remove dust, grease, rust, paint and any other material which may affect the adhesion of coatings.
Step 2. Examine the surfaces
After cleaning the surfaces. verify the dectivity and if necessary fix it in order to avoid water stagnation. But it's not enough.
Examining the surfaces also means verifying the presence of adequate systems for the collection and disposal of water in the floor. They should always be equipped with leaf guard systems to avoid obstructions. If the balcony is delimited by walls and not by railings, implement through holes on the walls and apply hood moulds to let the water flow away.
Finally assess the absence of elements that may hinder the continuity of the waterproofing layer. This layer must in fact be suitably folded on the walls or on the perimeter walls.
To do this it is necessary to remove or lift from the ground each machine (splitters and other elements) or non-structural element.
Step 3. Prepare the surfaces
It is essential to choose the best waterproofing system depending on the kind of surface to be treated. Is it a bituminous membrane, tiled surface or a concrete surface? Each case needs a different solution. Let's see the most suitable ones.
Bituminous membranes
In the case of a bituminous membrane take into account that the waterproofing system must be applied on uneven surfaces. This means that you will have to evaluate each time whether to proceed with the removal of the membrane, or with localized renovation. The removal is the most convenient operation to be done when most of the existing membrane is deteriorated.
Concrete surfaces
Make sure that the substrate is structurally sound. The "pull off" tensile strength of the concrete must be > 1.5 MPa. It is then necessary to check the presence and depth of possible cortical degradation and proceed to a concrete renovation cycle.
Eliminate any metal spacers and treat the deep and extended irregularities (for instance gravel nests and edge grinding). To do this, "prime" the substrate using, for example, the epoxy water-based resin Kimicover FIX and then skim coat using the mortar Betonfix RS.
In case of new concrete screeds and on top of old membranes, prime the surface with the epoxy resin Kimicover FIX MV with a roller or brush. This operation must be carried out between 8 and 24 hours before the beginning of the waterproofing.
Tiled surfaces
The last case is the waterproofing of surfaces already tiled. Here we must necessarily remove the first row of tiles of the walls to a height of about 20 cm, check the adhesion to the substrate and repair any holes or irregularities in the substrate with suitable products.
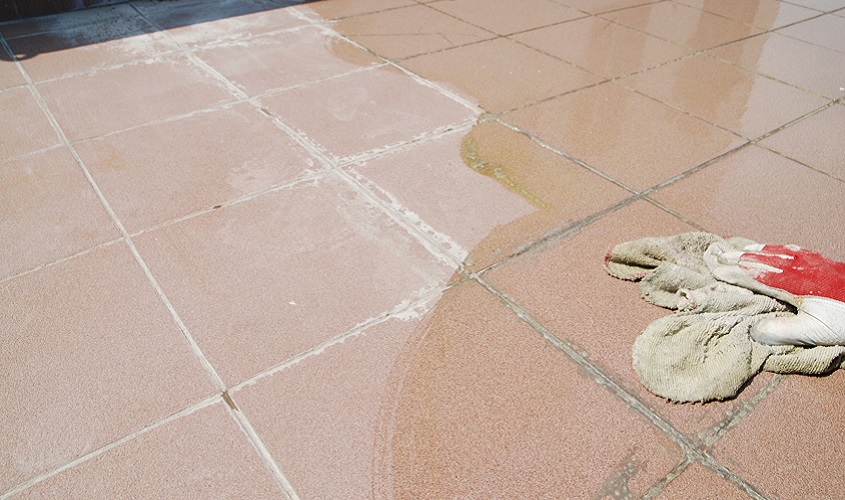
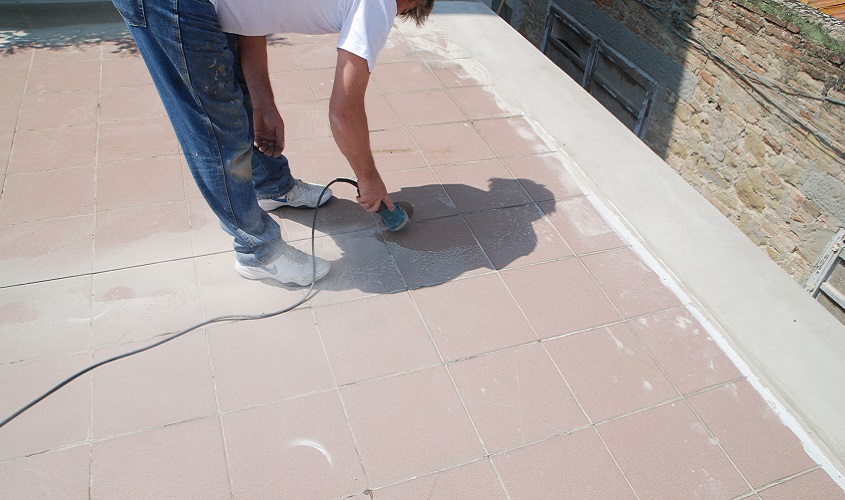
At the end, it is necessary to perform the acid washing of the surface in order to remove residues of cement mortar. Our advice is to use Soluzione P applied with a roller, with brush or floor machine. Once applied let it work afor a few mins and rinse the treated surface with water.
Step 4. Checking and restoring joints and wells.
When checking joints and wells, take into consideration the surface to be waterproofed. If a proper grid of static (resuming and splitting) and dynamic (dilatation and seismic) artificial joints has been designed and implemented, then it is possible to proceed with the restoration of the edges and the replacement of the preformed devices previously applied over the joints, in case they are deteriorated.
If there are natural joints, due to the an incorrect sizing of cuts fo the screed, check:
- If the joints have a straight or almost straight line;
- If the cracks are widespread and irregular.
In the first case it will be necessary to enlarge with proper mechanical devices the existing joints. In the second case, the surface must be restored before the joints are recreated.
If the tiled surfaces have no joints and it is necessary to create them, cut the grout lines using an angle grinder. it is important not to damage the existing waterproffing under the tiles, trying to make joints in areas that might tend to act as dynamic joints.
The contact points between the screed and the collecting wells can be treated following three operations:
- Removal of tiles;
- Cleaning;
- Reconstruction of the outer edges of the joint connectors (if needed).
Step 5. Waterproofing of joints and plumbing
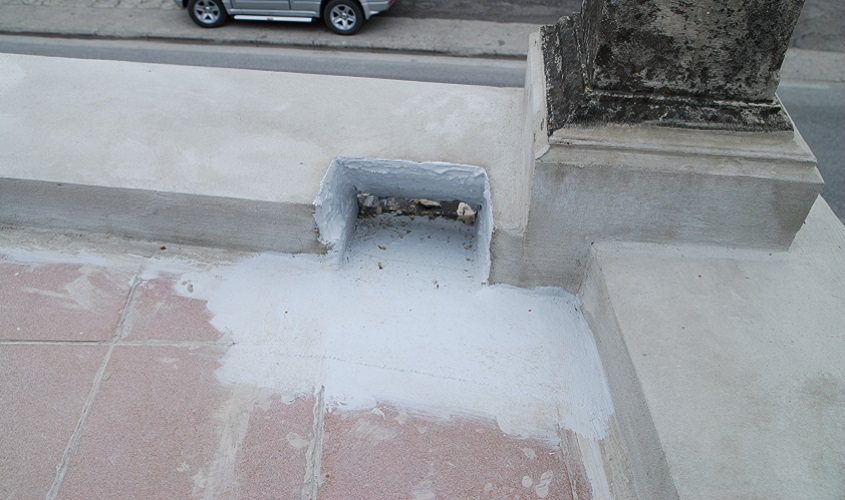
We are at the last of the preliminary operations to be performed before waterproofing a surface: waterproofing of joints and plumbing. To do this, firstly place the Ethafoam polyethylene support at the end of the joint as a foundation for the polyurethane sealant Tecnoseal 88 or Tecnoseal 130 in case of joints larger than 5 mm.
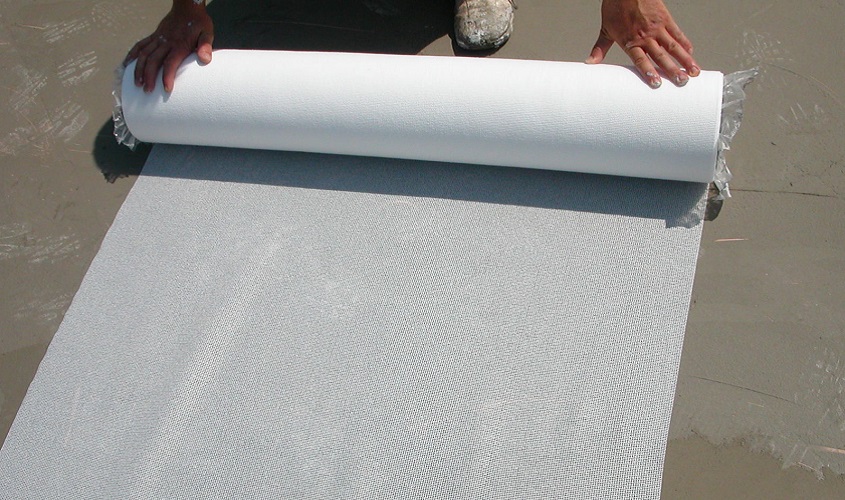
Secondly, apply a self-adhesive membrane (such as our Kimicover JOINT) and a reinforcing net (Kimitech 120 or Kimitech 350) to be saturated with mortar or the waterproofing resin chooesen to waterproof the surface.
Lastly, the contact points between the screed and the collecting wells will be treated by applying another self-adhesive membrane, Kimicover JOINT P into the plumbing.
Solutions for waterproofing terraces, balconies and roofing
Once accomplished all previous operations, the surface is ready for the laying of the waterproofing membrane!
If you liked this article please share it on social networks. If you are interested in finding out more about the most suitable solutions for the surfaces to be waterproofed, I suggest you read our article: Kimicover Waterproofing: our new range and download the guide "Balconies, terraces, waterproofing solutions And covers ".
For any other questions about the subject matter or other topics of interest, write to international@kimia.it. The most interesting questions to our readers will be published in this section.
 Eng. Stefano Agnetti, Head of Kimia Technical Department
